Last Updated
July 9, 2023
How to Transcribe YouTube Videos: 5 Quick & Easy Methods

Transcribing your videos is one of the fastest ways to increase engagement. According to a study, videos with captions can get 16% higher reach than those without. In addition, captions increase accessibility and allow everyone to consume your video content.
Transcribing usually puts people off because it takes time and effort. That doesn’t have to be the case. This article will discuss the fastest and easiest methods of transcribing your videos. You’ll be able to get subtitles on your videos in no time!
Why you should transcribe YouTube videos
Accessibility
Almost 20% of the global population lives with hearing loss (over 1.5 billion people), while over 70 million people are deaf. By transcribing your YouTube videos, your content can include people with disabilities and reach a wider audience.
It’s not just deaf or hard-of-hearing folks who can benefit from subtitles, though. Those who don’t understand fast or accented speech as well as neurodivergent people can better follow along with your content.
SEO
Since they’re text, video subtitles are also indexable! When transcribing your YouTube videos, search engines like Google and Bing can index and rank your content. This increases your video’s discoverability and reach.
And since captions increase your engagement and watch time, this can positively affect your video’s ranking on Youtube, allowing more users to find your videos.
Repurposing content
Transcribing isn’t just useful for your YouTube videos but also for other types of content. For example, you can quickly turn your transcript into a blog post by making a few edits, adding headings, images, embedded videos, etc.
Social media is another area where you can make use of your transcripts. Make bits of content that sum up the highlights of your video and post them on social media.
Improved engagement
According to a study by Discovery Digital Networks, adding captions to YouTube videos led to a 7.3% increase in views.
And in another study, 69% of respondents reported viewing video with sound off in public places, while 25% watched with sound off in private locations. 80% of consumers said they were likelier to watch a video to completion if it had captions.
Captions generally positively affect engagement and allow more people to watch your content in different settings and circumstances.
Global reach
By transcribing your YouTube videos, you can use the Auto-Translate feature in YouTube Studio to provide captions in different languages. This allows people worldwide to watch and engage with your video.
Educational use
Transcripts allow viewers to read along with the video as they listen. This can be particularly useful in educational applications where the text can serve as reference material for studying. Captions are proven to impact students’ comprehension and literacy skills positively.
How to transcribe YouTube videos: 5 Easy Ways
How to transcribe YouTube videos with YouTube Studio
If your video is eligible, YouTube will automatically generate captions after uploading it. This is the quickest and easiest method of adding captions to your video.
It isn’t always super accurate, though — YouTube is prone to messing up captions, especially when the audio isn’t clear or the speaker has an accent. Editing your auto-generated captions before going live with your video is recommended.
Here is how you can check and edit them:
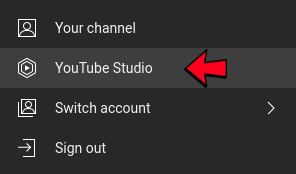
Step 1: Open Youtube Studio after uploading your video.
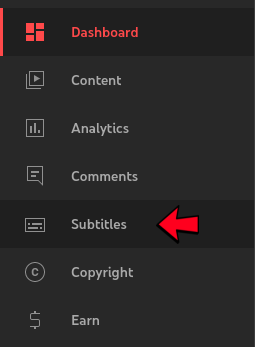
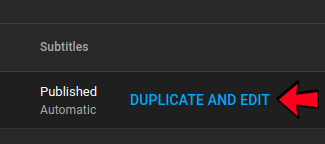
Step 2: Click ‘Subtitles’ on the left menu.
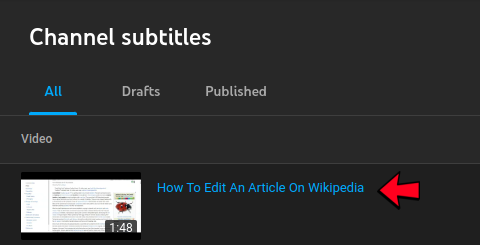
Step 3: If you see your video, click the thumbnail. If you don’t yet see it, the captions might need a few more minutes to process, so check back in a little while.
Step 4: Click ‘Duplicate and Edit’ on the right. This will open the Youtube Caption Editor.
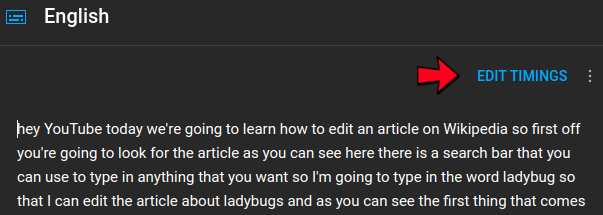
Step 5: Here, you can adjust the captions for grammatical or spelling errors and add punctuation. Click ‘Edit Timings’ to see the timestamps and make adjustments if necessary.
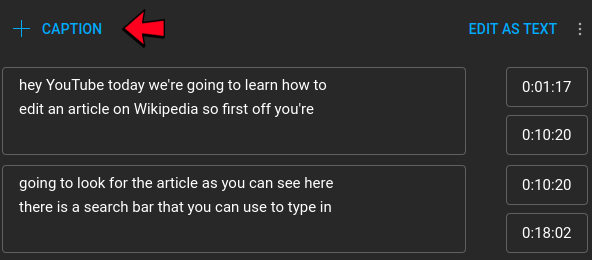
Step 6: If there are any missing captions you need to add, drag the end of the previous caption to where it should be and click the + sign to add a new one.
Pros
- Fastest method of transcribing your YouTube video
- Captions show up not long after you upload your video
- Acceptable level of accuracy
Cons
- Prone to error and requires editing
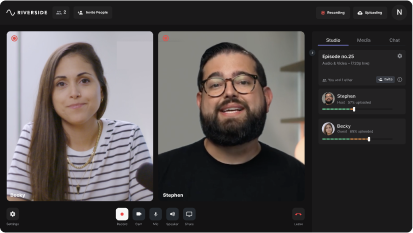
How to transcribe YouTube videos with Riverside
By using Riverside, you will get more accurate captions. This process is fast and easy and only takes a few minutes. We still recommend proofreading your captions for accuracy, though.
After recording with Riverside, you get complete, highly-accurate transcripts straight away. With our text-based editing, you can polish your recordings and make all the necessary changes to the transcript. And you don’t even have to type out who’s speaking. Our speaker detection feature identifies and labels the various speakers in a recording.
If you want closed captions, it's as simple as downloading your transcript. And, if you want open captions, you can easily burn them into your video with out editor.
Everyone can use the text-based editor, but downloading transcriptions is only available on the paid plan. That said, you can get a taste of our AI transcription with our free online tool. Our software supports over 100 languages and various file formats, such as .MP3 and .WAV.
Just upload your file, and when we finish transcribing everything, you can export in SRT (with timestamps) and TXT transcription formats.
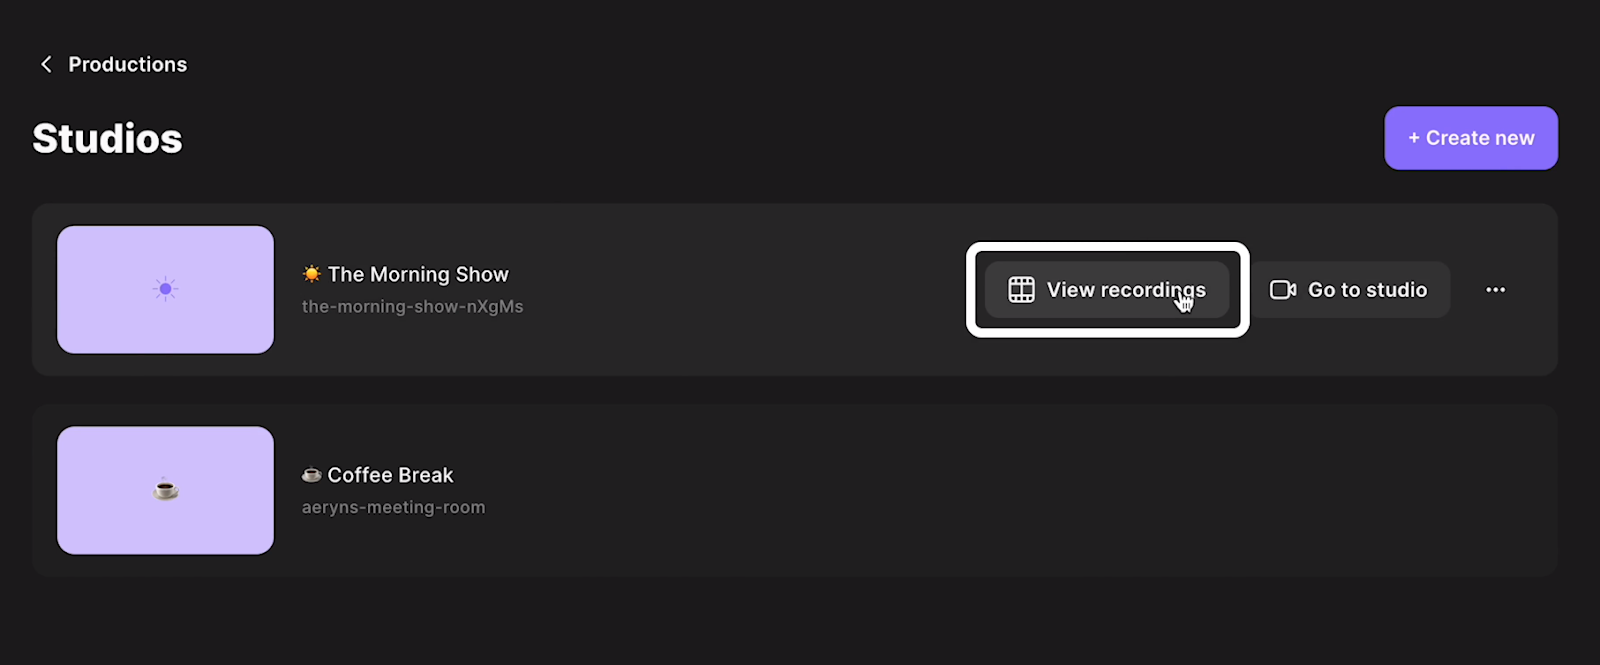
Step 1: Record your video on Riverside. Once finished, go to the studio you recorded with and click ‘View recordings’.
Step 2: You’ll find a transcript preview alongside your video and audio files. If you just finished recording, this can take a few minutes, so check back if you don’t see it yet. (You'll see everything under the 'Recording Files' section.)
You have the option to preview your transcript if you select the three dots next to the download button. Alternatively, you can download your transcripts straight away by selecting 'Download'.
Step 3: You can download an SRT (Subtitle file) or TXT (Text transcript) file. You’ll require the SRT file for Youtube, as it contains timestamps to help the text match up with the video.
Step 4: Once downloaded, check your transcripts for any mistakes.
Step 5: Go to Youtube Studio and select Subtitles. Click the video you want to add subtitles to. Upload the SRT file — now you have captions on your video.
Bonus: If you want to burn your captions into your video, click 'Go to the Editor' from the view recordings page. At the top, click on the captions button from the toolbar. Select your caption style, then to adjust the positioning click on your captions in the video and drag them as you wish.
Pros
- Fast, accurate ai transcription with timestamps
- Option to download your file as SRT or TXT
- Free tool available
- Cross-platform
- You can use your transcripts to edit your recordings
Cons
- May still require some edits
How to transcribe YouTube videos with Google Docs
This is a quick and easy method that works if you have a good microphone. It’s not the most accurate, but it works in a pinch.
In order to transcribe YouTube videos with Google Docs, you have to use the Voice Typing feature and play your video via a computer speaker, so your computer’s microphone input catches it.
Step 1: Go to Google Docs and create a new document.
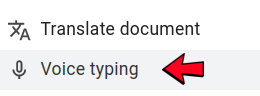
Step 2: Go to Tools and enable Voice Typing.
Step 3: Click the Speak button and start playing the video on the speaker. Hold the source of audio close to your microphone for best results.
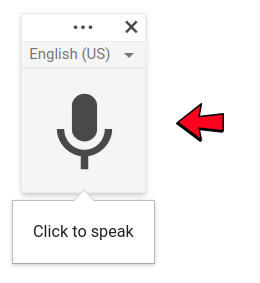
Step 4: When you finish with the video, click on the microphone icon again to stop transcription.
The resulting transcription may not be perfect, so you’ll need to read through it and correct any errors.
Pros:
- Requires little technical skill
- Can easily edit text once finished transcribing
Cons:
- Requires a working microphone
- Not the best accuracy
- Not the fastest setup
How to transcribe YouTube videos with Android Live Translate
Google Live Transcribe for Android is a free transcription tool downloadable on any Android device. It can transcribe audio reasonably well. This method requires you to play audio out loud so your Android device’s microphone can capture it, and the app can transcribe it automatically.
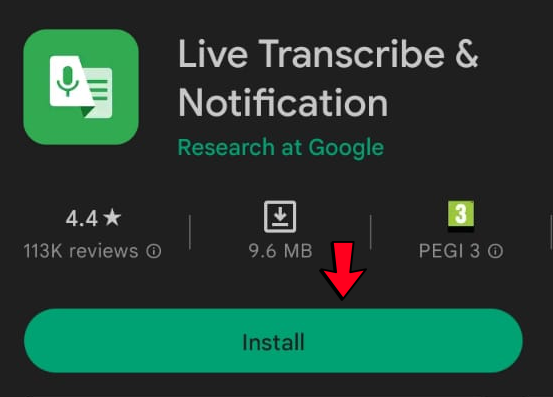
Step 1: Install the app from Google Play Store.
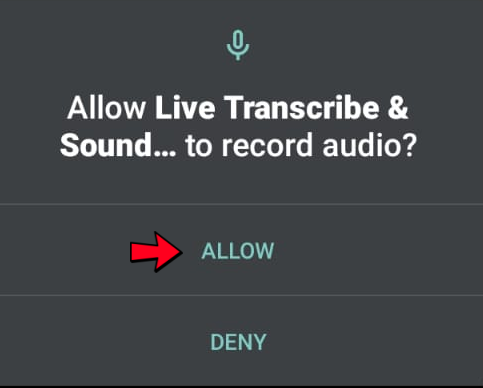
Step 2: Open the app. You’ll get a popup requesting permission to record. Click Yes.
Step 3: Click Turn on to keep records of your transcription.
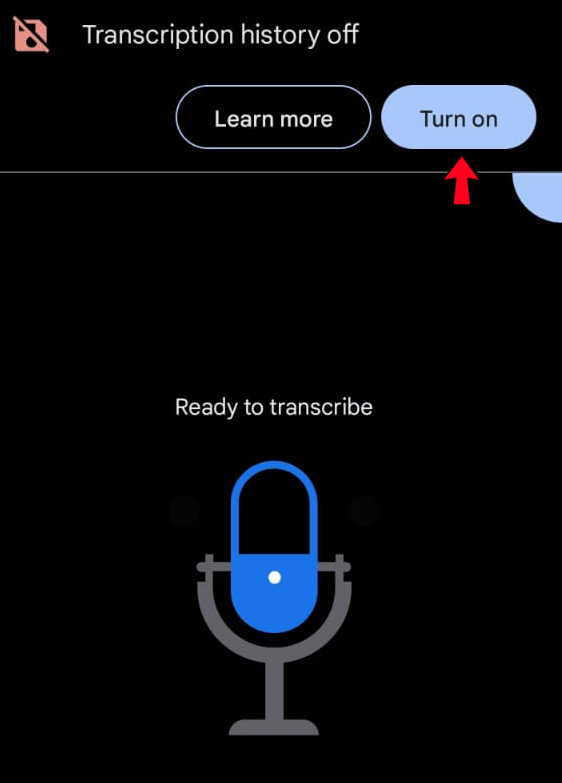
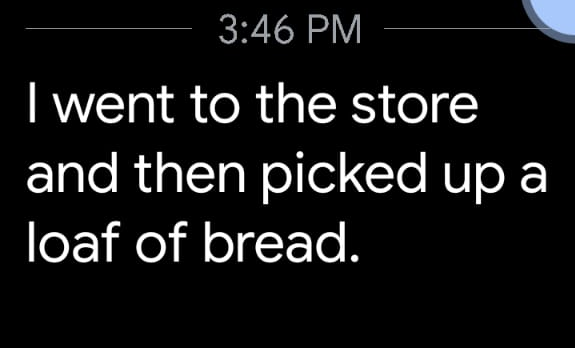
Step 4: Start playing the video on speaker and let your Android phone’s mic capture it. The app will automatically start writing what it hears.
Step 5: Moving the transcript to your computer is recommended to edit more comfortably.
Pros
- Easy to set up and start using
- Transcribes reasonably well
Cons
- Requires you to move to your computer afterward for easier editing
- Doesn’t work without a microphone
How to transcribe YouTube videos on Apple devices
If you don’t have an Android device, don’t worry. Apple devices have their own version of Live Translate called Dictation. It transcribes well but also requires a microphone.
You’ll have to play your audio into your Apple device’s microphone in order to transcribe it. You’ll also have to move the transcript to your computer.
Step 1: Go to your iPhone’s settings.
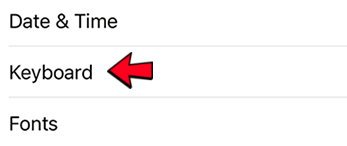
Step 2: Click ‘General’, then go to ‘Keyboard’.
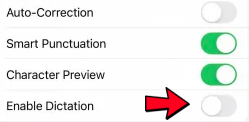
Step 3: Turn on Enable Dictation.
Step 4: Open the Notes app or another place to type text.
Step 5: Click the microphone logo on your iPhone keyboard.
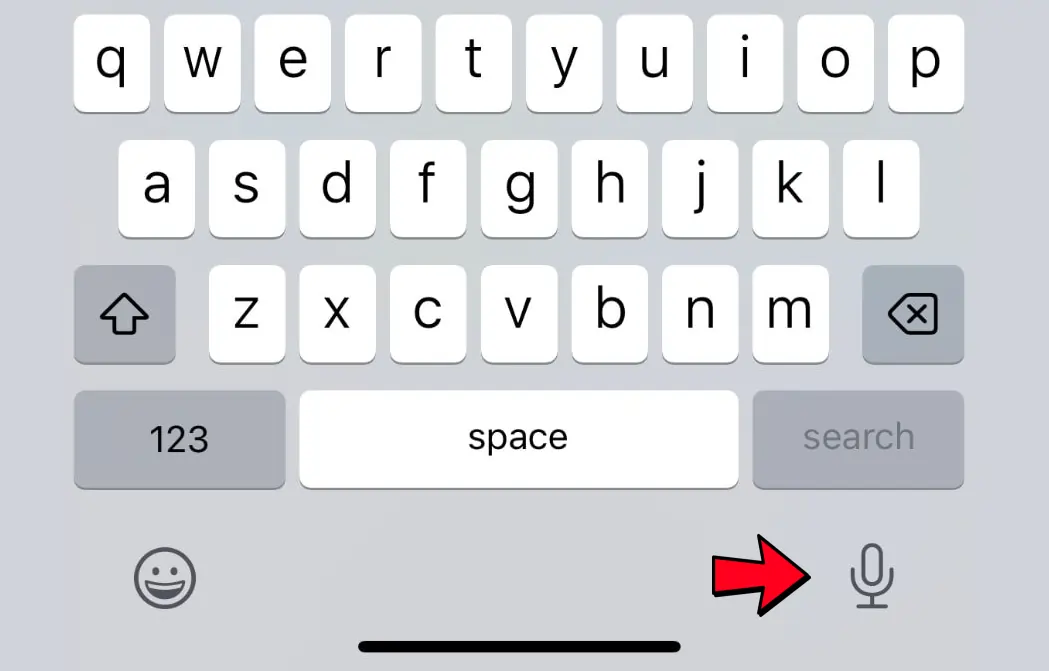
Step 6: Start playing the video on speaker and hold the audio source close to your iPhone’s mic. Text will start to appear on the screen.
Pros
- Easy, quick way to transcribe
- Relatively accurate
Cons
- Requires your microphone to work properly
- May make mistakes
Best practices for transcribing YouTube videos
- Make sure your captions are accurate: Inaccurate captions aren’t helpful. Proofread your captions and correct grammatical errors and wrong words.
- Add sound effects: It’s generally a good idea to add context for music and sound effects for deaf viewers. This adds to the video's mood and allows your audience to connect with your content more. Use brackets to show sounds, such as [door shuts] and [music].
- Use proper formatting: Formatting your captions is essential to making them easy to understand. Use capitalization, spacing, and punctuation to ensure your text isn’t just a giant cobweb of words sprawling over your video.
- Use accurate timestamps: Make sure you time the captions properly so they accurately synchronize with the audio content. Nothing turns off a viewer more than laggy or speedy captions that don’t match what is said.
- Use speaker identification: If there are multiple speakers, use speaker identification (labeling the person speaking) to make it easier for viewers to follow along. It’s better to use names rather than just Speaker 1 and Speaker 2 so the viewer can understand who’s speaking. Riverside does just this; its speaker detection identifies and labels individuals for easier comprehension.
- Use a readable font and background color: Light captions on a light background will be difficult for your viewers to read. Make sure to contrast the background color and captions for optimum readability.
- Use the correct type of transcription: In some cases, you must provide a verbatim transcript that includes filler words and false starts. This applies primarily to legal contexts. Otherwise, you can use an edited transcription style for clarity and conciseness.
FAQs on How to Transcribe YouTube Videos
What do you need to transcribe YouTube videos?
To transcribe YouTube videos, you need a video in an .MP4 or .WAV file and software to generate transcripts. Your video must have reasonably clear audio for better accuracy. The audio must also be in a language supported by the software.
How long does it take to transcribe YouTube videos?
Transcribing manually depends on certain factors, such as the length of the video, the audio quality, and how accurate you need the transcription to be. An hour-long video can take anywhere between 4-10 hours, depending on the experience of the transcriptionist. However, software like Riverside allows you to get a full video transcript in a few minutes.
Can you transcribe YouTube videos on your phone?
Yes, you can transcribe YouTube videos both manually and automatically. You can type the transcripts in YouTube Caption Editor or edit the automatically-generated captions. You can also use transcribing software to generate captions.
Can you transcribe videos directly in YouTube?
You can transcribe videos directly in YouTube Studio either through automatic captions or by manually typing out the captions yourself. However, automatic captions are not always accurate, so editing them in the YouTube Caption Editor is advisable.
How to transcribe someone else’s video on YouTube
Although YouTube previously had a community captions feature where anyone could submit captions, this feature is no longer available.
As such, transcribing someone’s video on YouTube without their permission and re-uploading it would be considered a violation of YouTube’s community guidelines.
If you have the original uploader’s permission, you can use any of the five methods outlined in this article to transcribe their video accurately. You could also use a professional transcription service or directly request the creator to provide a transcript if they have one.


 (1).webp)
.webp)
.webp)